


Here are the main steps I go through during the making of my base model: D tin whistle with Delrin junction. This page mainly exists to show broadly how the flute you’ll maybe have in your hands is made
If you want to make your own tin whistle and you need further information or advices, feel free to send me a message via the contact form or via e-mail: contact@mlwhistles.com, I’ll answer to it with pleasure.
1

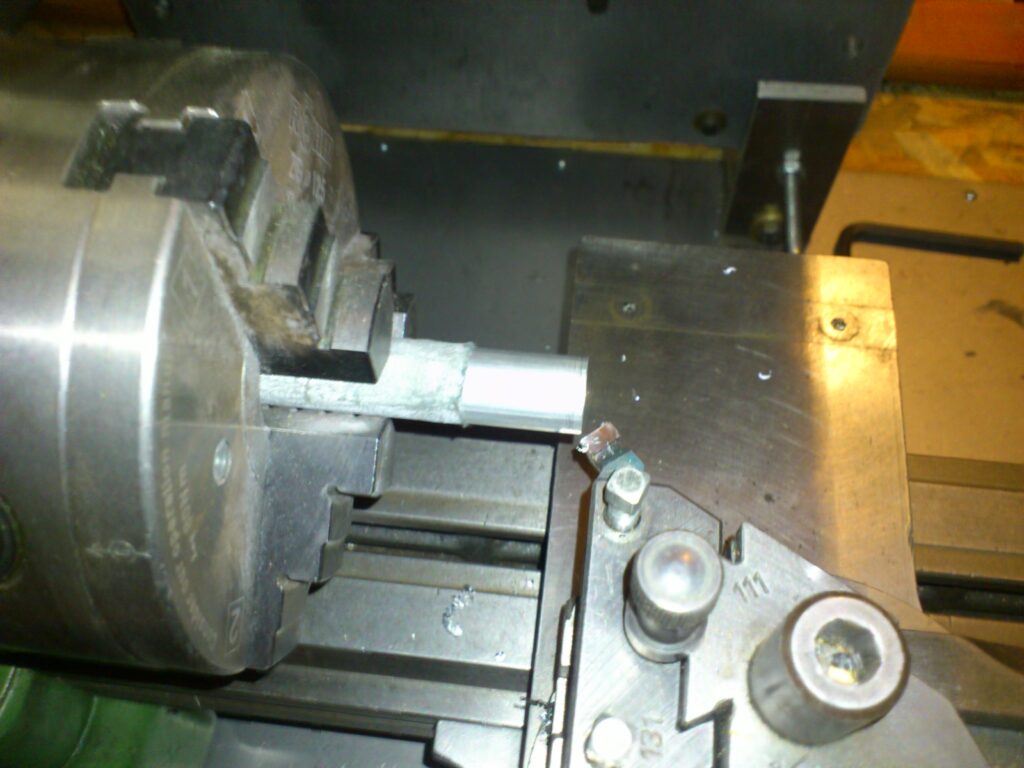
I start by cutting my different parts (aluminium body and mouthpiece, Delrin junction, block and outer part of mouthpiece) to the right sizes.
I then do the facing of my two aluminium parts (head and body) to work with straight elements.
2
3
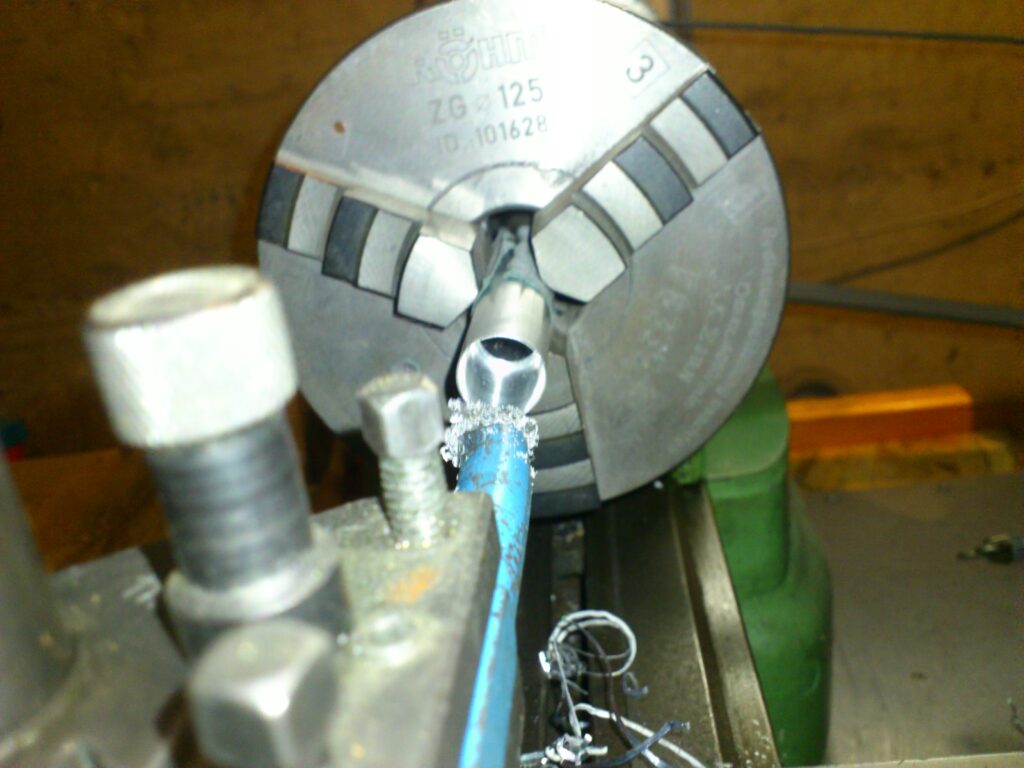
The body and the mouthpiece are reamed so I can insert Delrin junction (forced insertion on the mouthpiece side so that it’s well attached).
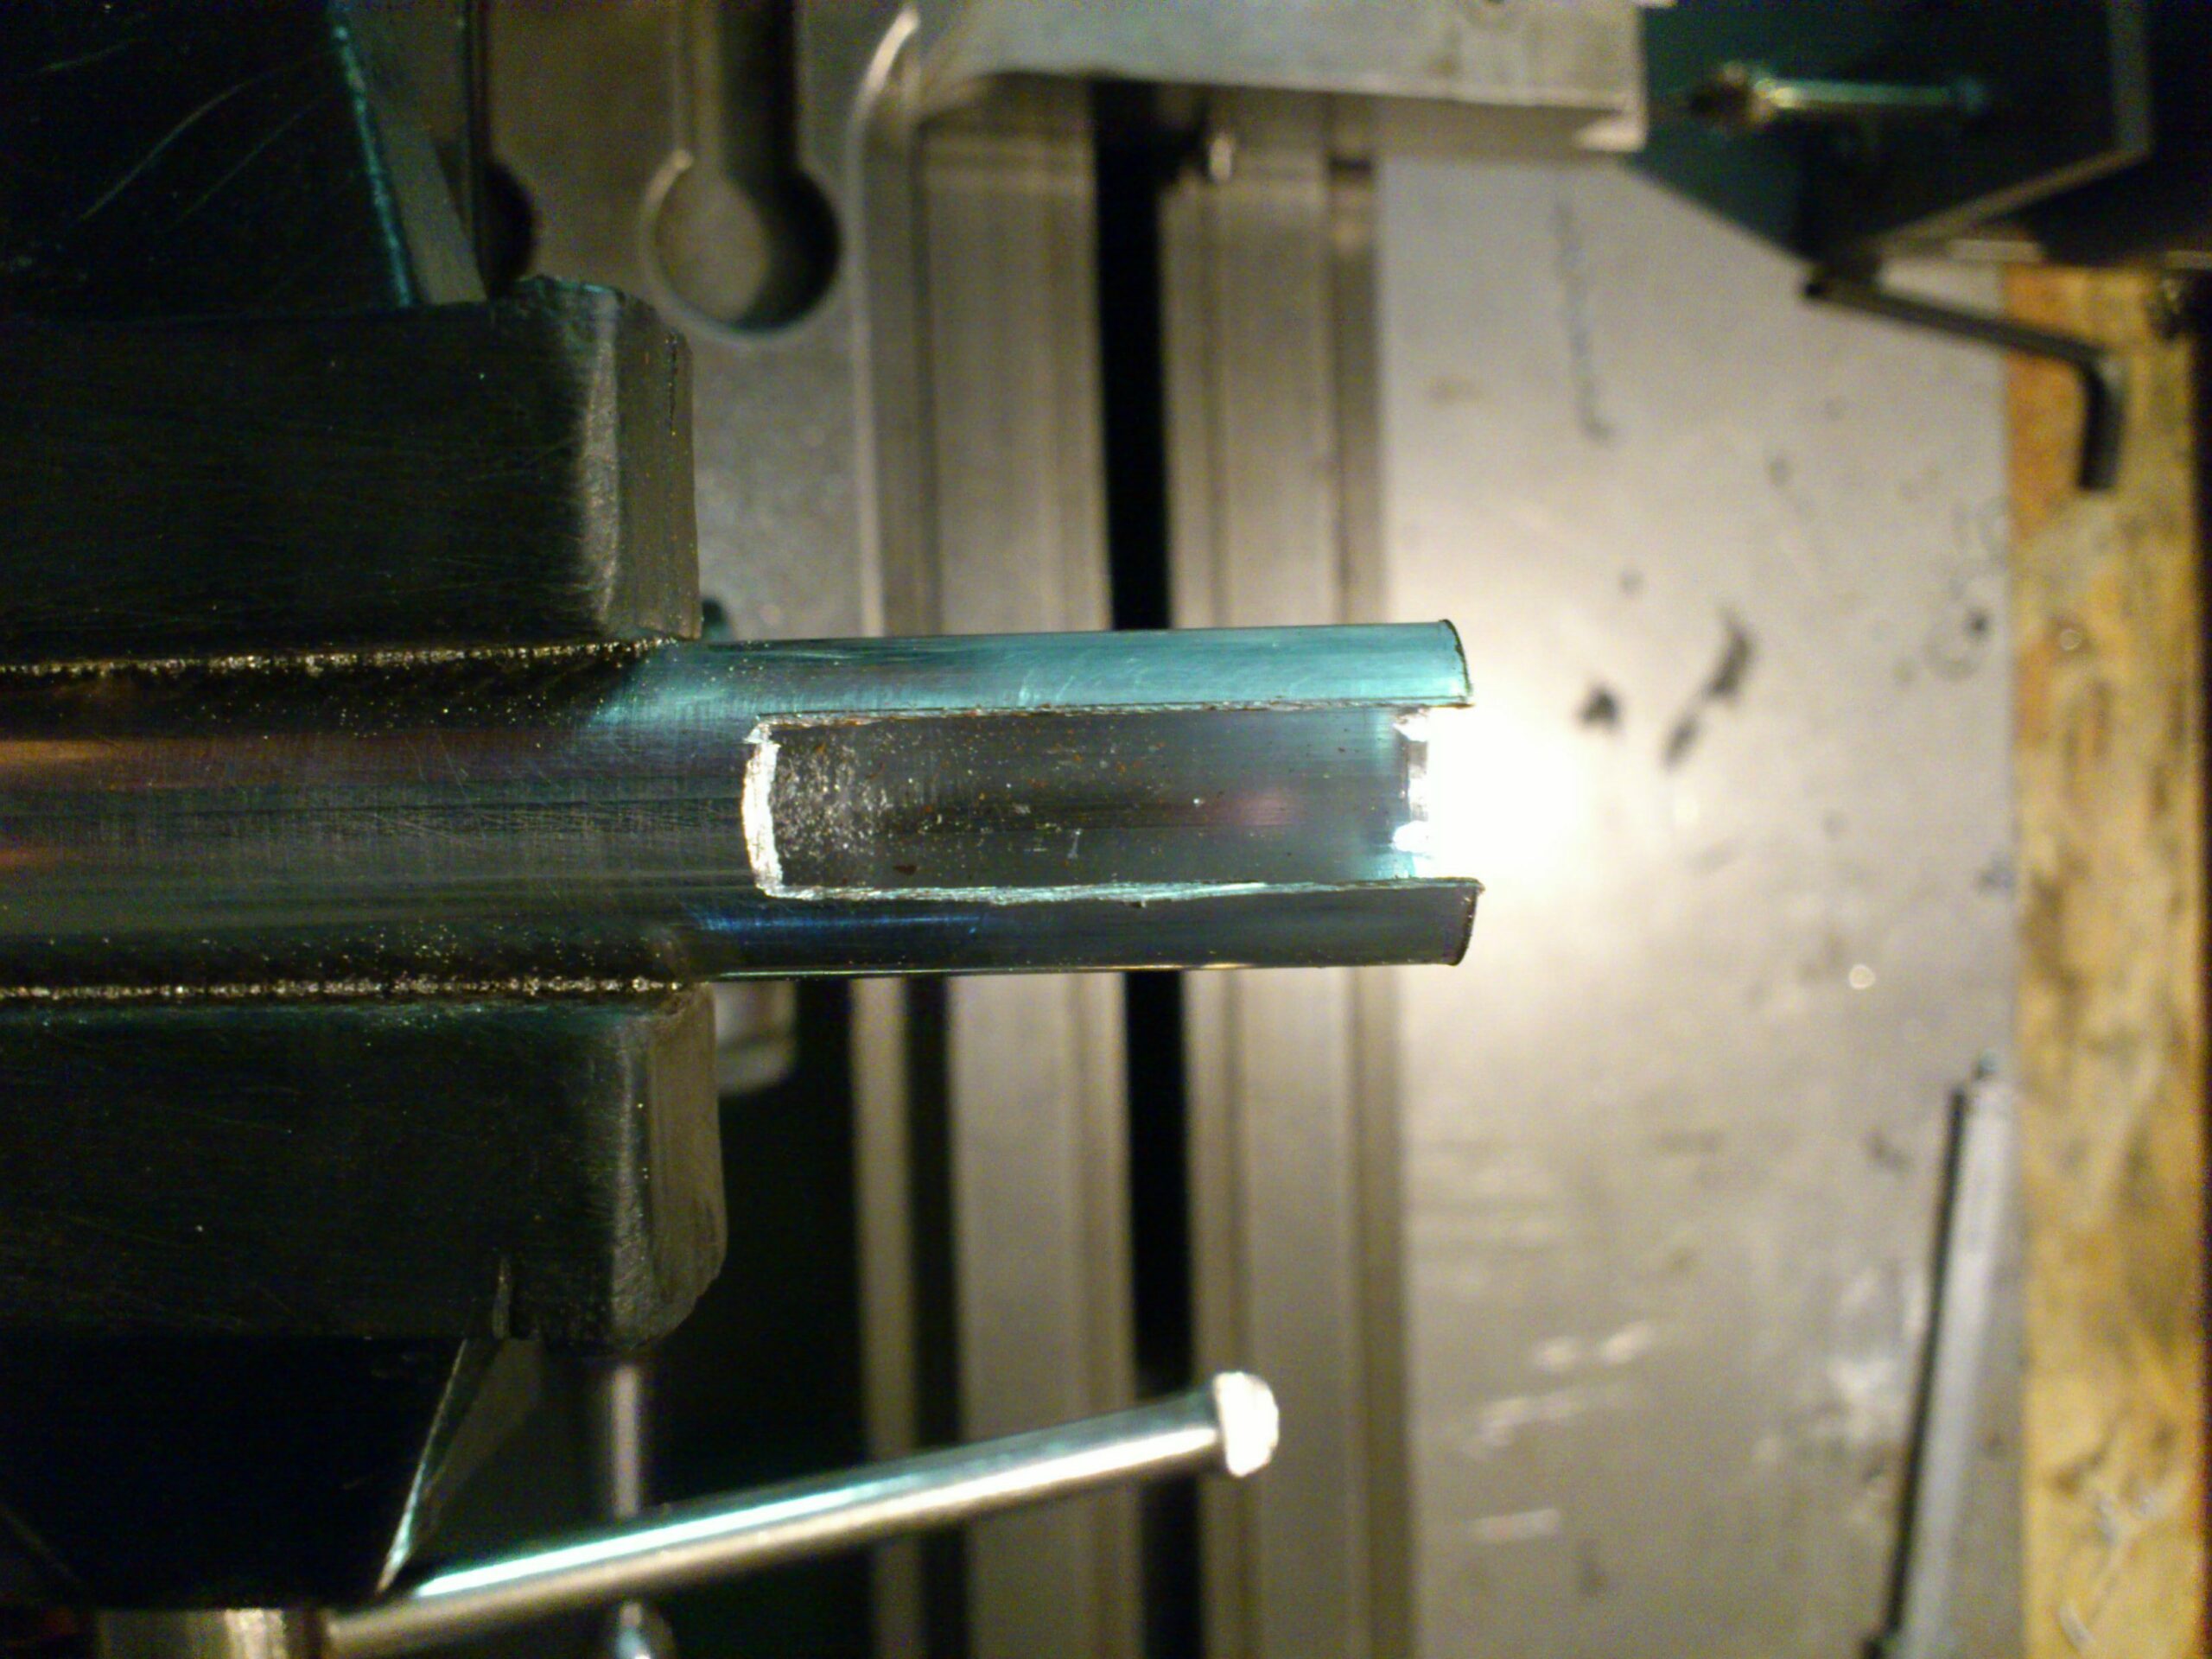
The mouthpiece windway is shaped by cutting a strip in the head.
4
5
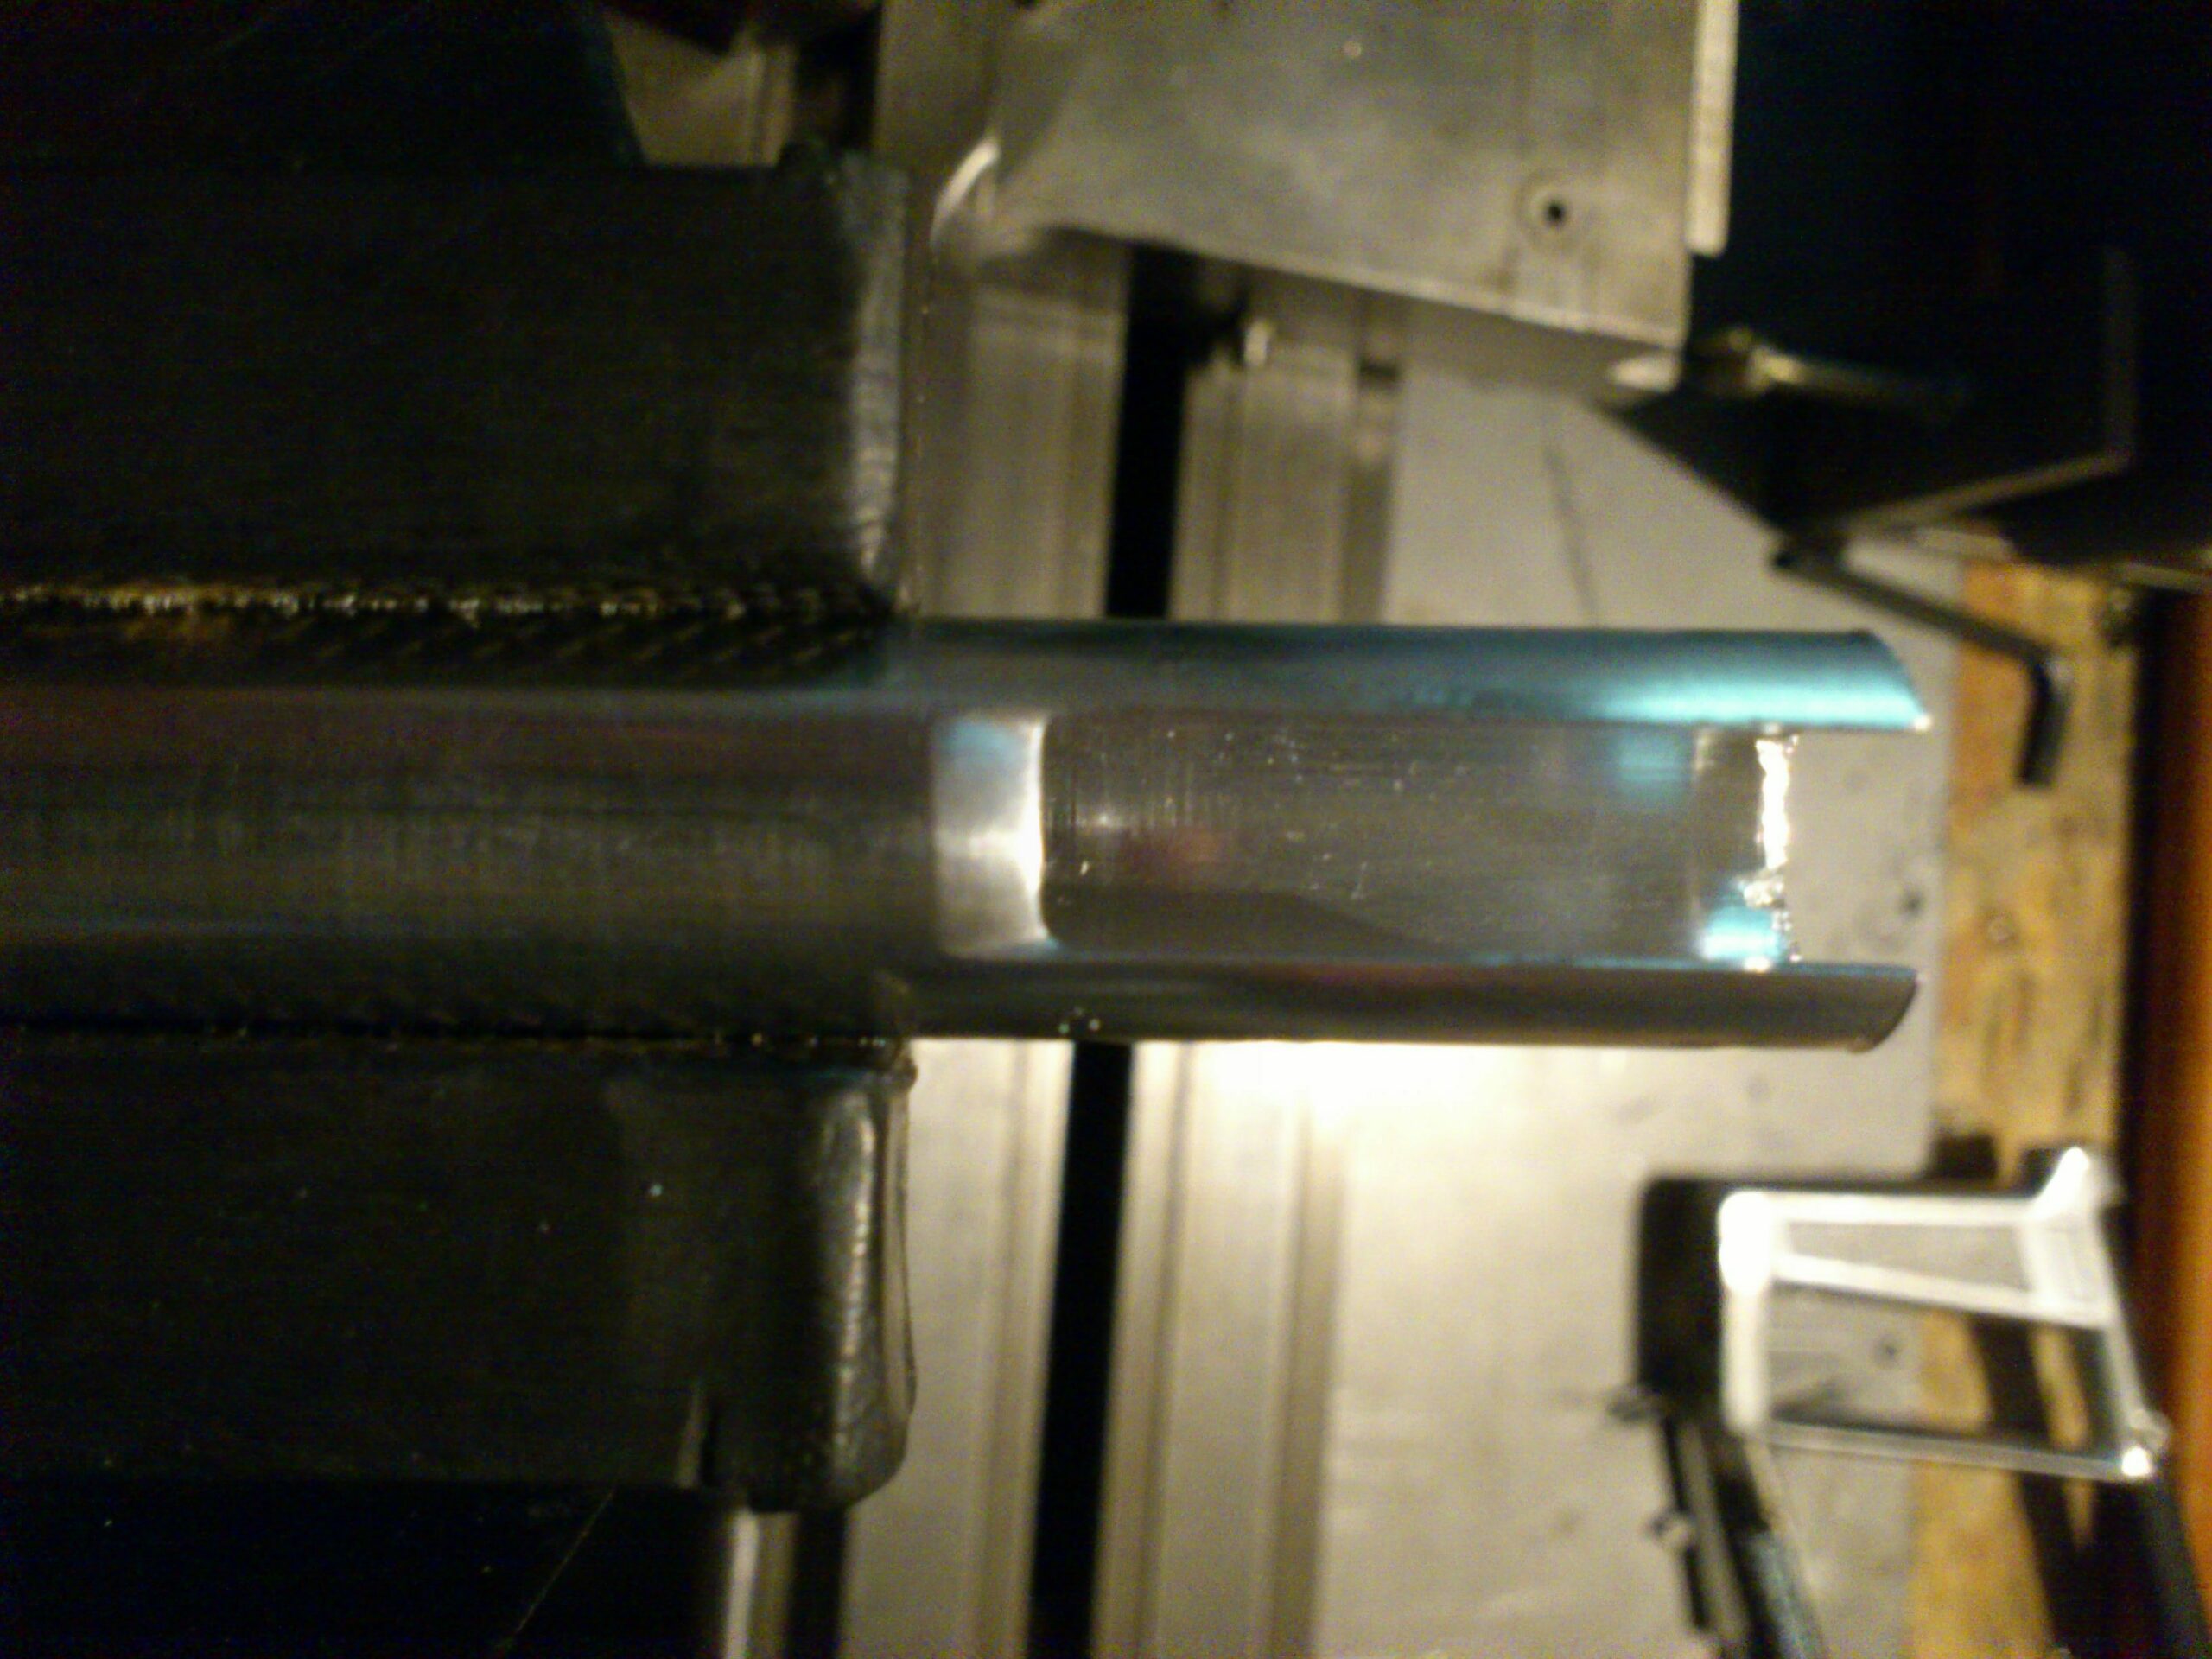
The windway edges are straightened and adjusted to the right dimensions. The mouthpiece blade is shaped. This step is done with a file, a knife and sandpaper.
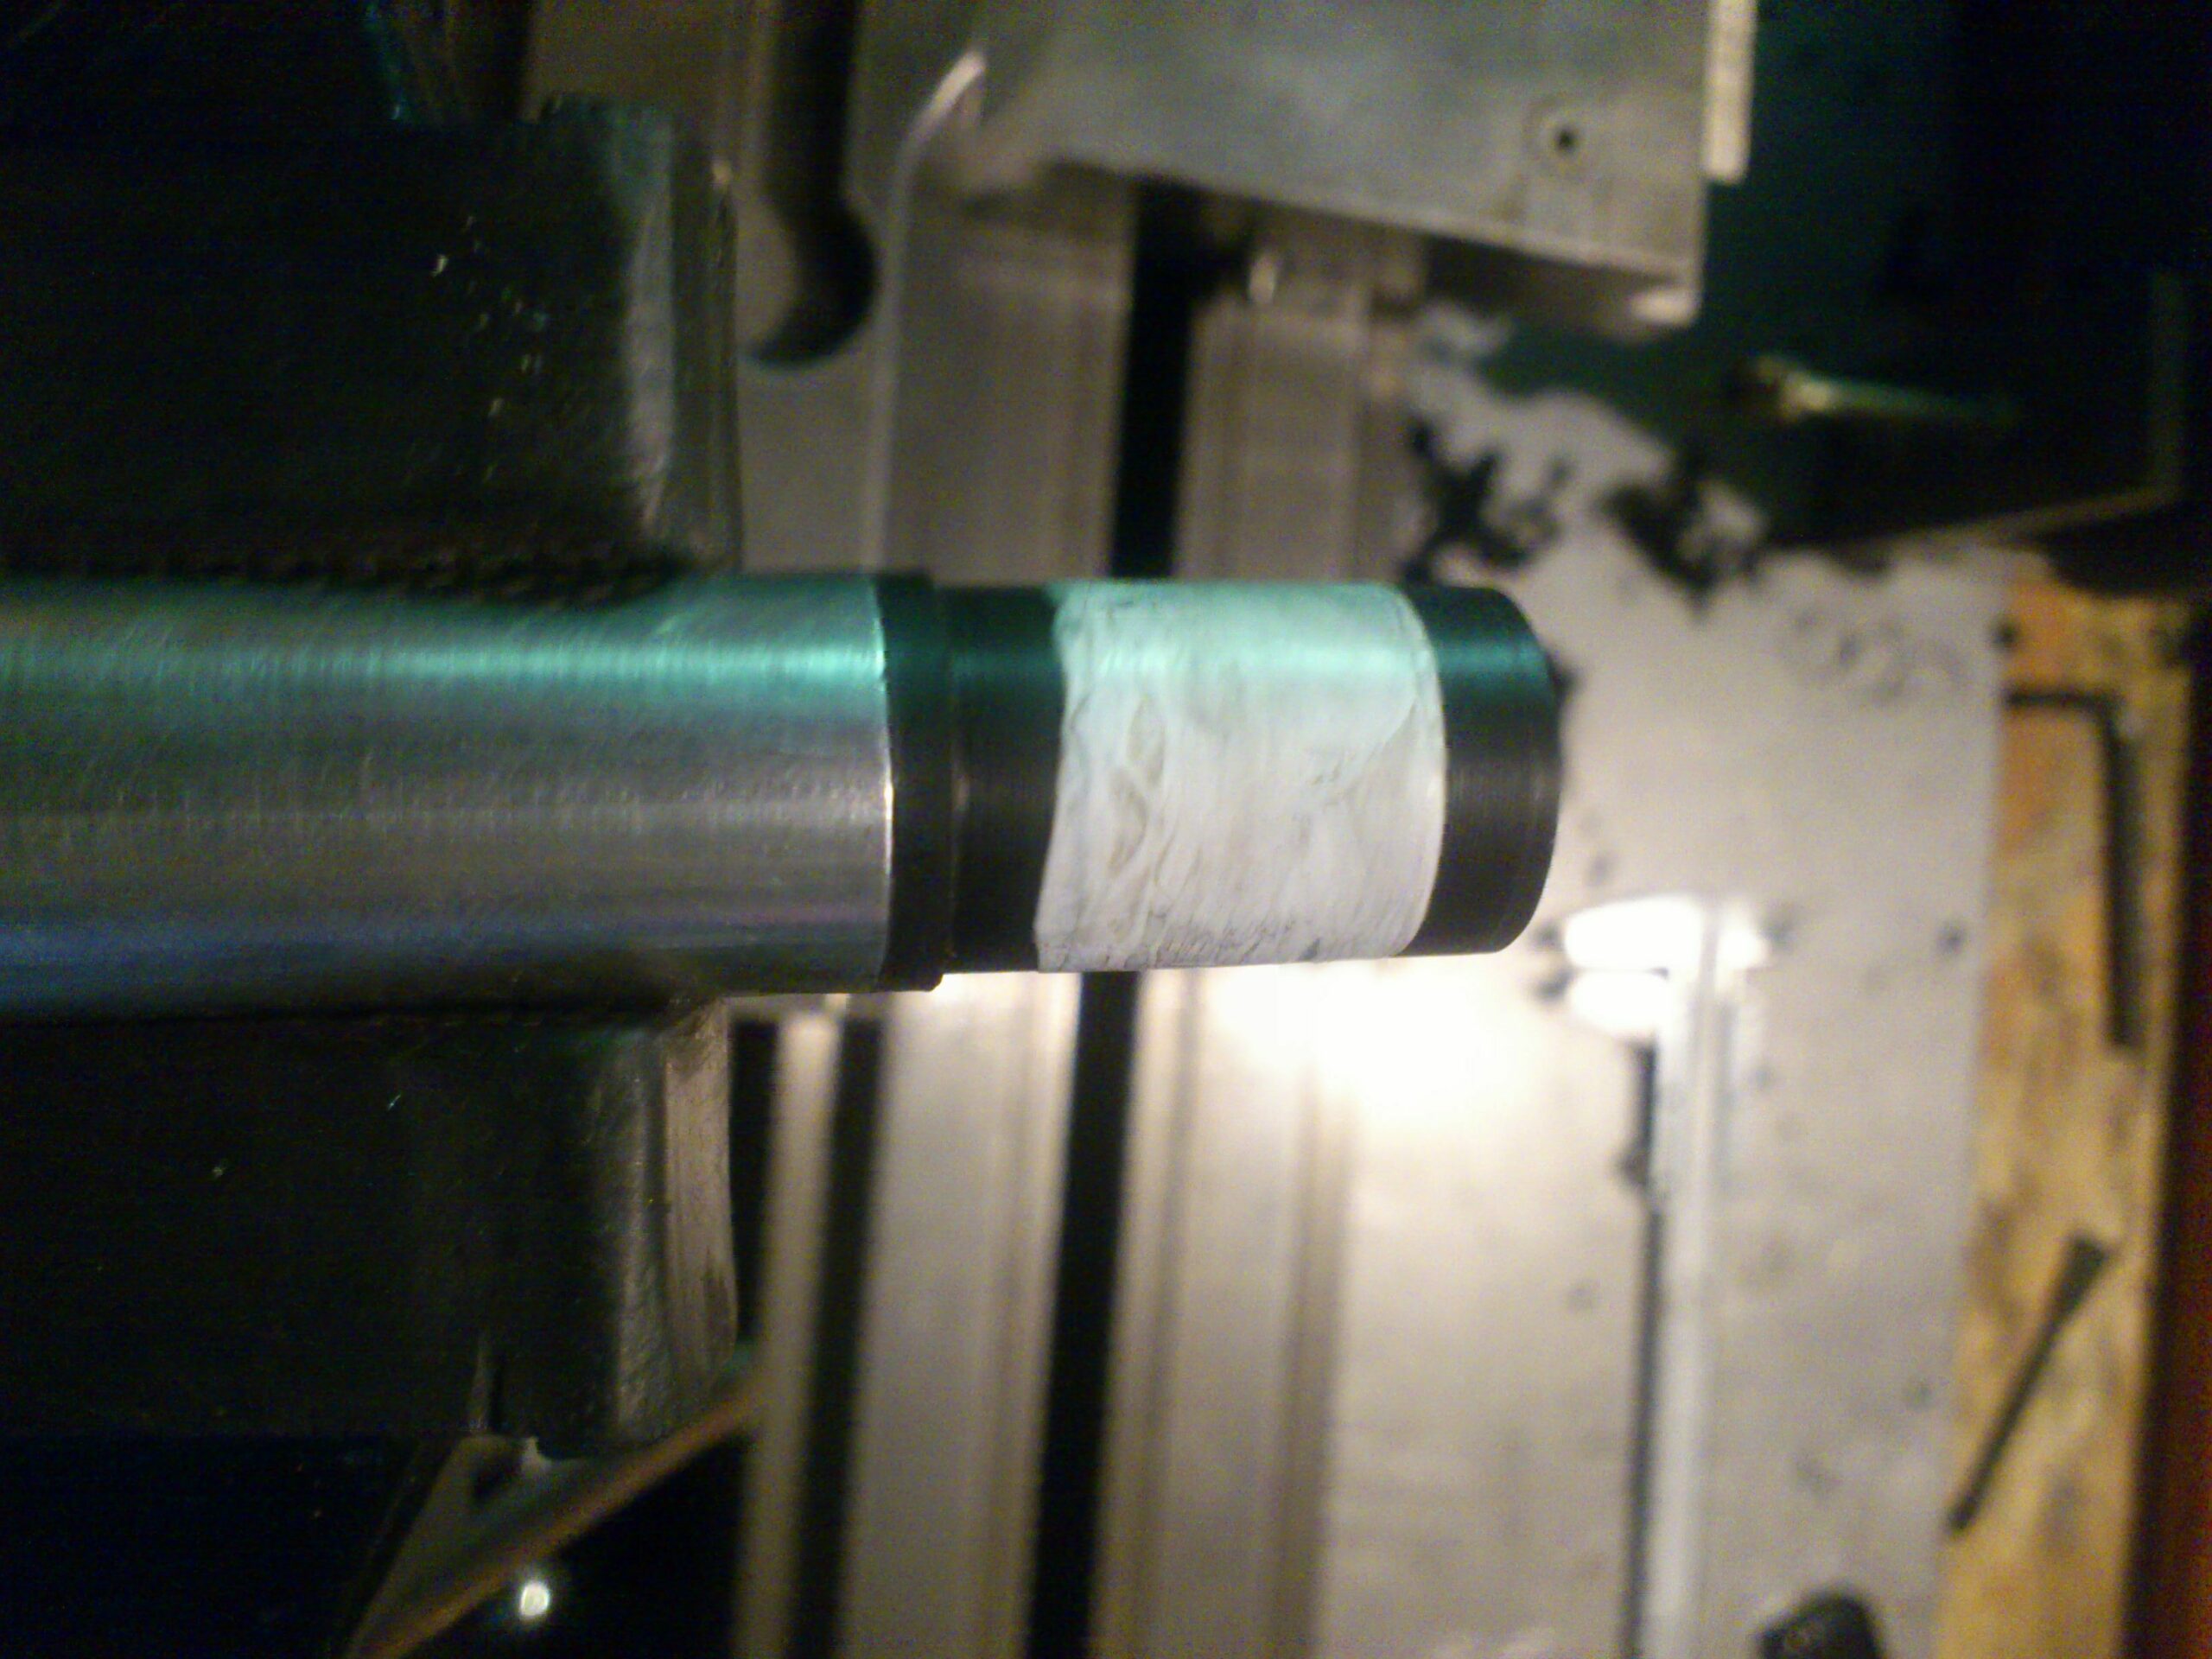
The Delrin junction is turned and bored at the same diameter as the aluminium tube. A space is saved for the plumber tape.
6
7
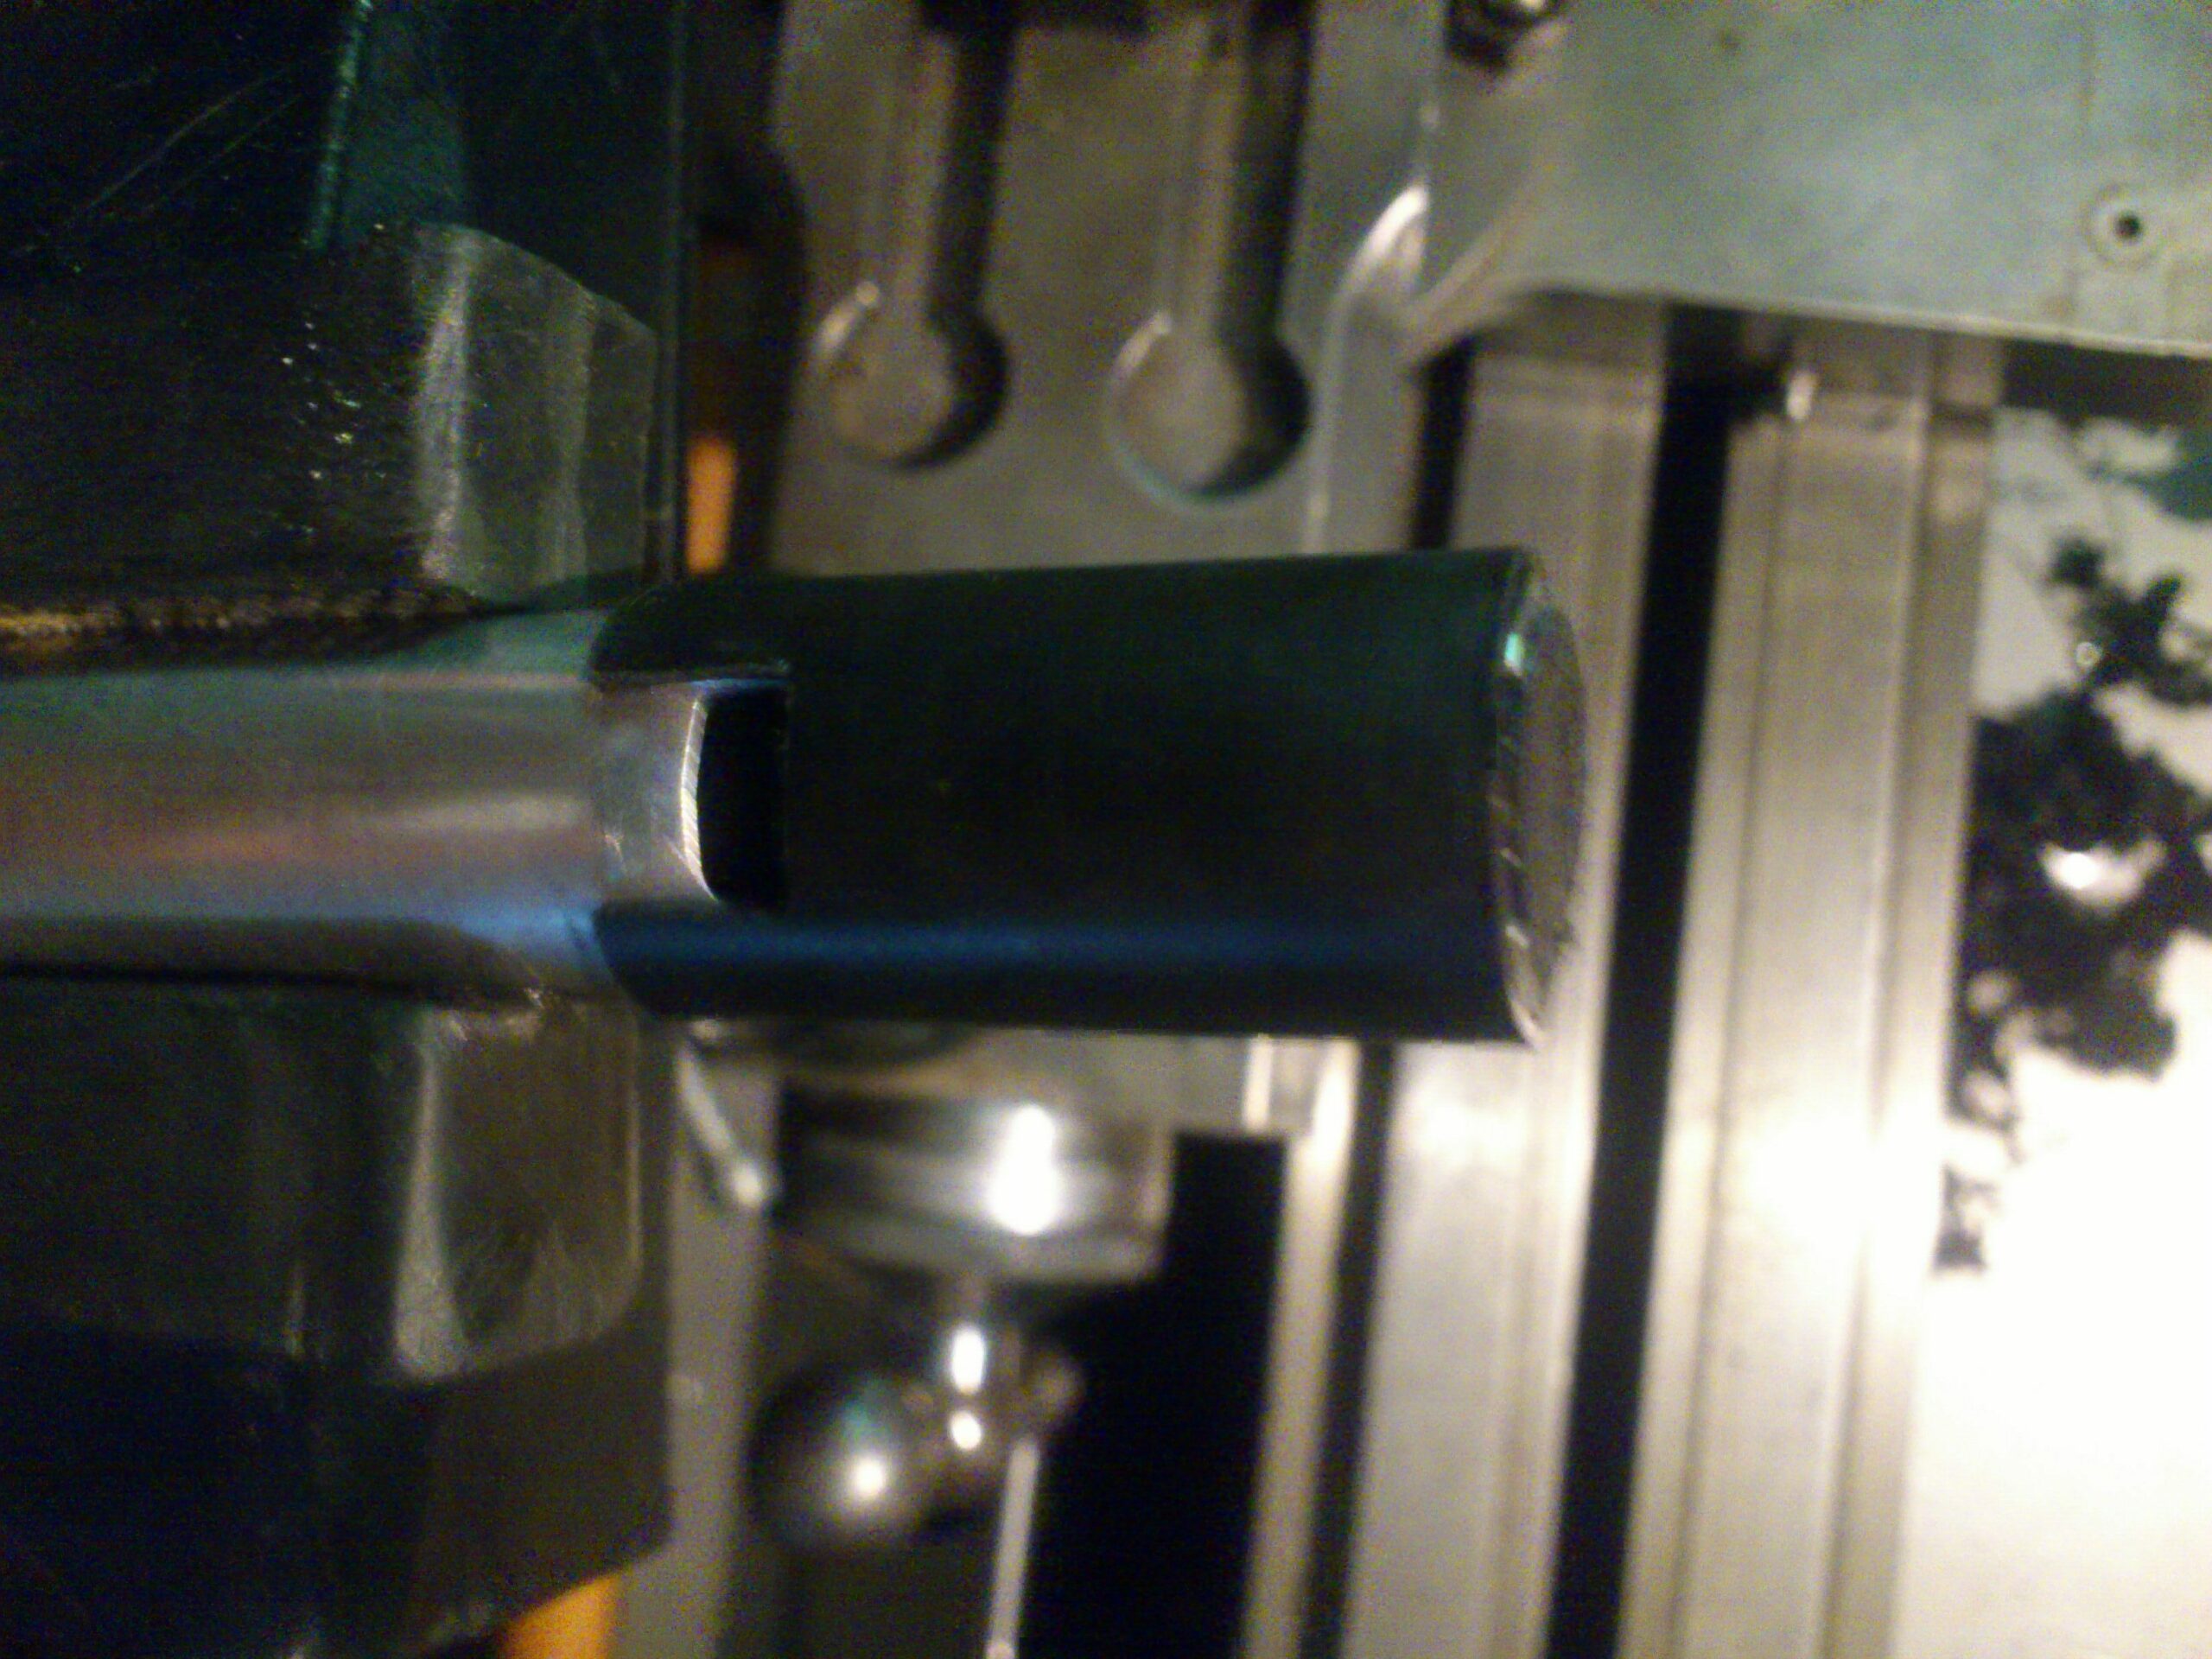
I turn and cut the block to the right dimensions, I bore and turn the external part of the mouthpiece. I cut and shape the part that form, with the labium, the window.
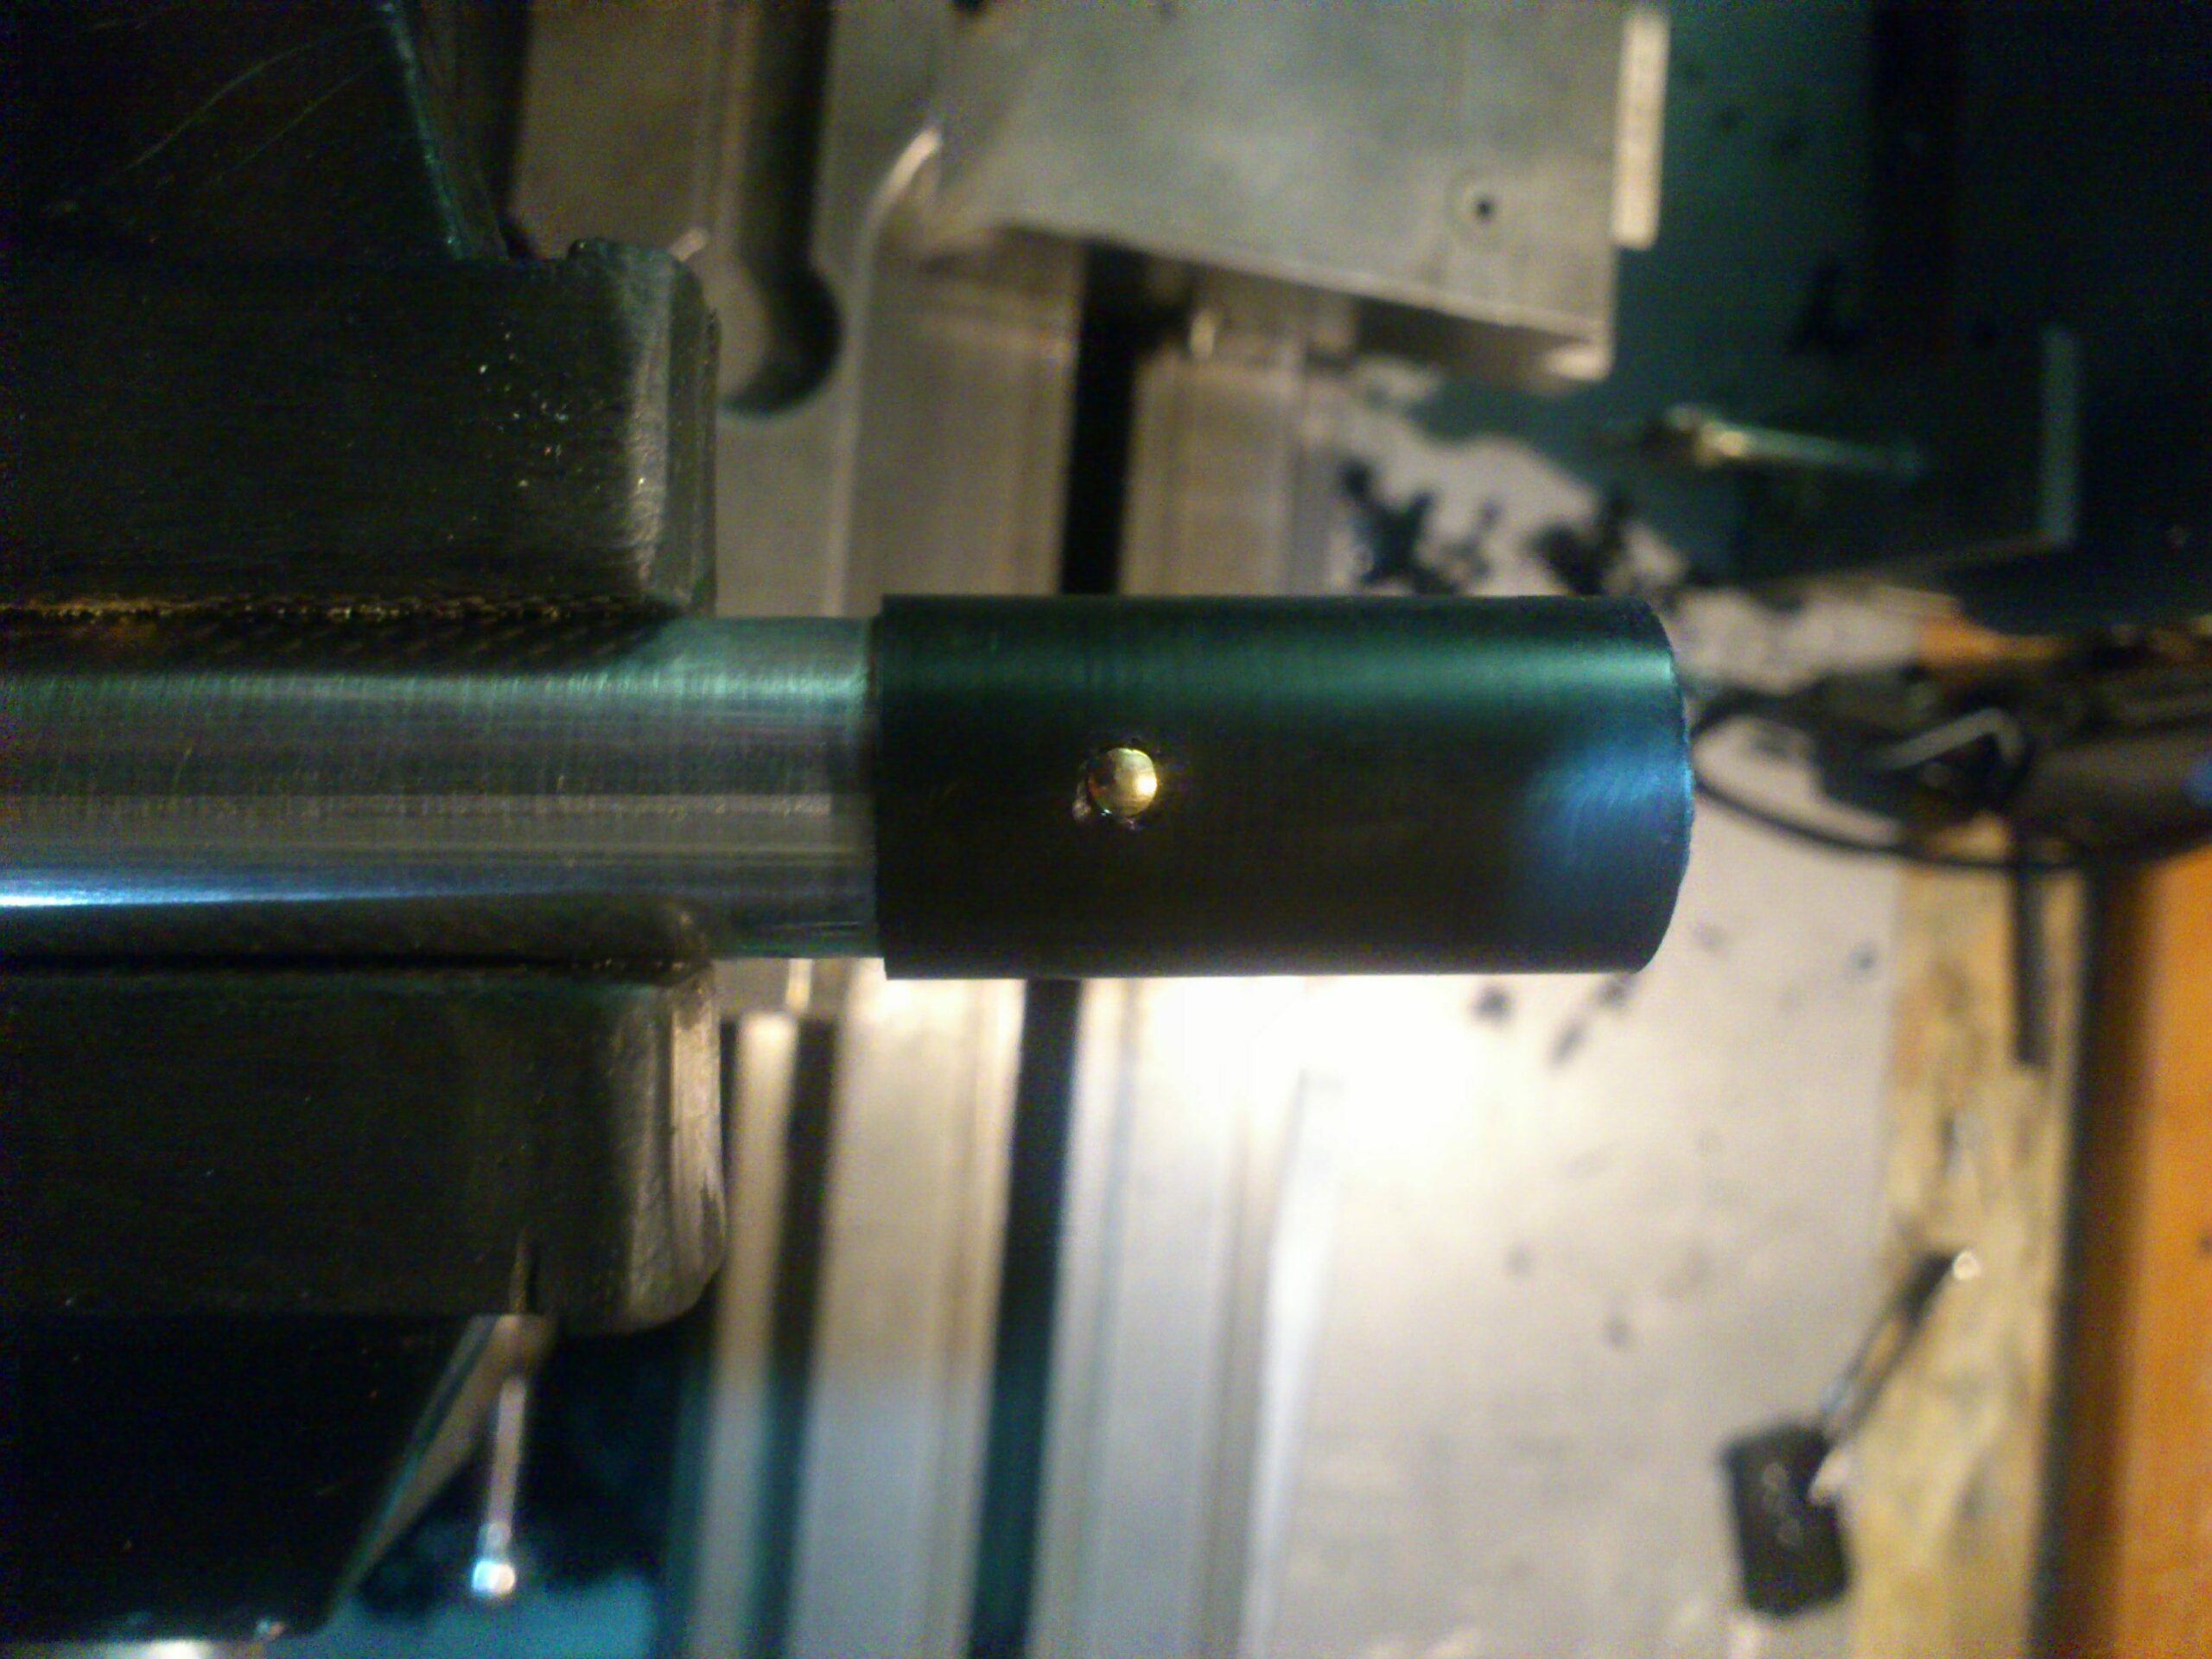
I tightly fix the external part of the mouthpiece, the aluminium tube and the block with a rivet.
8
9

I shape the iconic form of the mouthpiece and I slightly round the edges. The mouthpiece is then sanded with sandpaper.
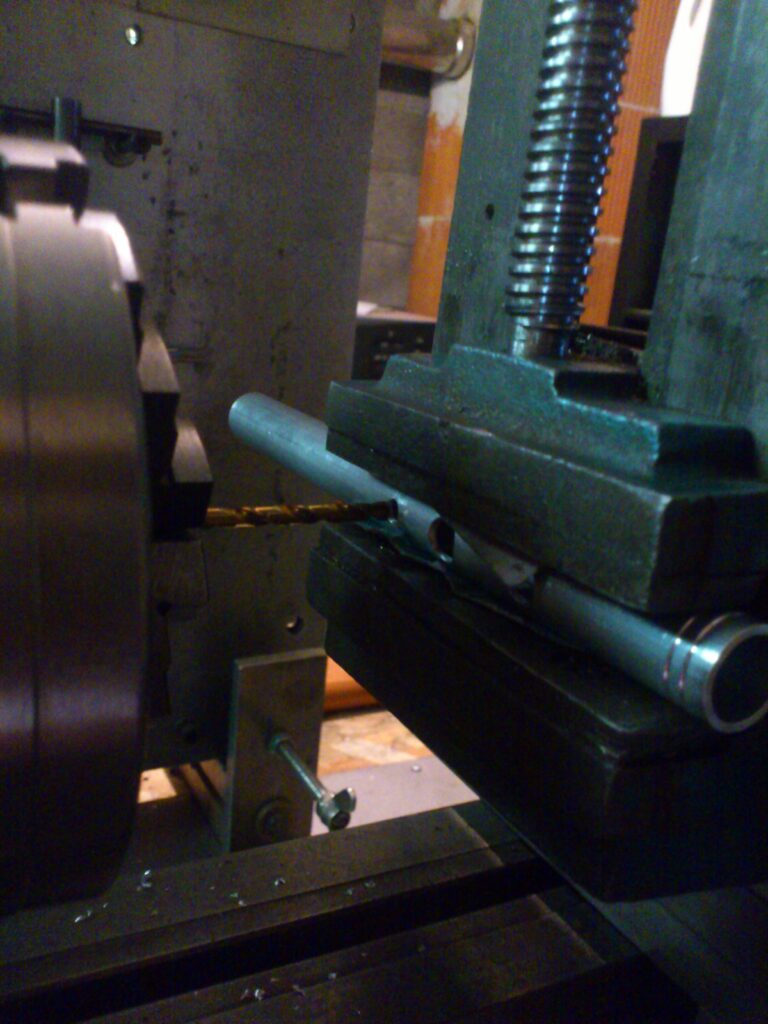
Finaly, I drill the tone holes. The drilling is made bellow the note I want to achieve so that I can accurately tune with a knife.
10